5 DIY Headbands
A headband can make any girl look pretty and uber cute. Headband is perhaps the best accessory, which makes any girl look classy and elegant. It gives a feminine look also. Listed below are some DIY headbands, read and try them.
1. Ribbons and buttons headband
This headband will definitely help to change any girl’s look. On a plain plastic band, apply some glue. Now, fold the thin ribbon according to choice. If the ribbon is thick, make two folds and then stick it on the plastic band. Now apply four buttons on top or left corner of the headband. If the ribbon color is white, then red buttons would look perfect for the band. The red white headband will look pretty with a red colored dress.
2. Retro Pom Pom headband
The retro look is back and how! Everyone wants to try retro styled headbands. This simple headband can be made using elastic band and any color fabric. Cut different circles of any color or fabric. If it is cotton, then the effect would be better. Now, scrunch the fabric circle from the center and stick one circle which is to be placed on the headband. Scrunch about five to ten circles and stick it to the circle at the center. The Pom Pom look is now ready. Stick this on the elastic headband on the right side. The headband is ready for casual retro or party retro look.
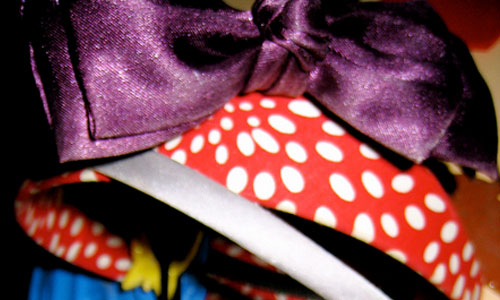
3. Glitter bow headband
Glitter headbands are really popular amongst girls. A simple headband can be made by applying glitter all over the headband. A glitter bow headband can be made using a plain band, ribbon and colored glitter. Take a satin ribbon and make a bow out of it, like a perfect bow shape. Seal the bow with the help of glue. Now, apply two colors or single color glitter on the bow. This must be done carefully to make it look neat. Let the glitter on the bow completely dry up. Stick this bow on the plain headband. Seal the bow with the help of cloth as an option. Ready to impress everyone!