7 Ways to do Nail Art at Home
Nail art can never go out of vogue. In fact, it keeps on getting better with new trends and designs. Are you a beginner and don’t know anything about nail art? Do you wish to try nail art? Then well, you can try it at home. So, here are some ways to start with, read on.
1. Start with a base coat
Remove your old nail polish with the help of a good nail polish remover. Clean up your nails so that they are smooth and clean to start with. File your nails accordingly. Now, apply a clear base coat on your nails for a smooth finish. If it is not smooth, then apply another base coat to make it smooth.
2. Apply a base color
Nail art is all about playing with different colors. So, start with a color of your choice. The most preferred colors are black and blue because of the dark base. Apply a black color coat on your nails and let it dry. Wait for two minutes before you apply the second coat in the color. The color should be smooth and not glossy if you are a beginner. Smooth color will make your nails shine after the nail art.
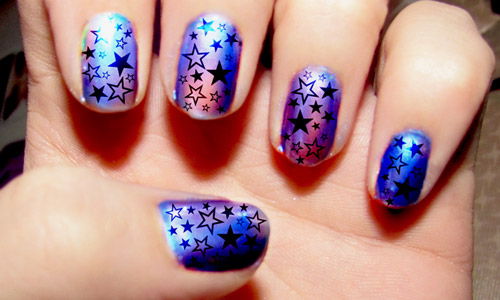
3. Apply a design
Nail pins or nail art brushes are easily available. For black color, white nib or while nail art brush would be most suitable! Start with a basic design, like some scattered dots around your nails. You may choose to apply a line over and under your nails. Or, make a line and a dot combination. This would be the simplest design in nail art, but it would look classy.
4. Apply a top coat
No nail art can be completed without using a top coat. If you don’t use a top coat, your nail paint would eventually chip. You do not want to spoil the creation you made using a nib, do you? So, apply a top coat only after your nail paint or the design you made is dry. Apply two top coats to complete the look of the nail art. It is all about the right finish and the right look.